
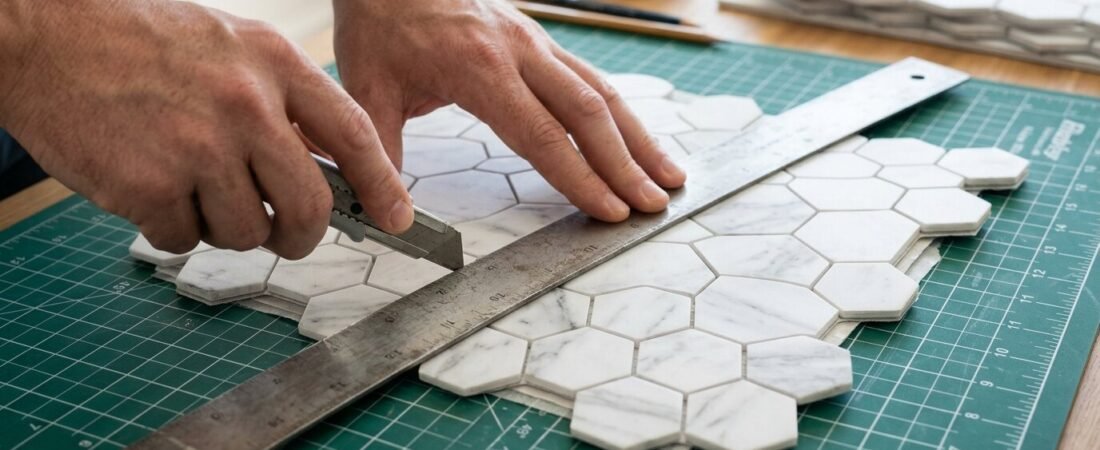
To cut peel and stick floor tiles cleanly, mark the cutting line, and hold a metal straight edge along it. Now, carefully cut through the tile with a sharp utility knife. For thin tiles, scissors may also work, while thicker tiles need more care to avoid rough edges or cracks. However, the best cutting method depends on your tile’s thickness and material, so choosing the right tool helps you avoid rough edges, cracks, and uneven cuts.
Peel-and-stick flooring comes in different forms, and the material can affect how easily you cut it. If you’re unsure what type of flooring you have, learn about the different types of peel-and-stick flooring before choosing your cutting method.
In this guide, you’ll learn how to cut peel and stick tiles for your own flooring project, from straight lines to curves, corners, and holes around pipes. You’ll also discover which tools work best for your tiles, how you can prevent cracks and uneven edges, and how to fix a cut if it doesn’t turn out the way you expected.
Tools You Need to Cut Peel and Stick Tile in Smooth Way
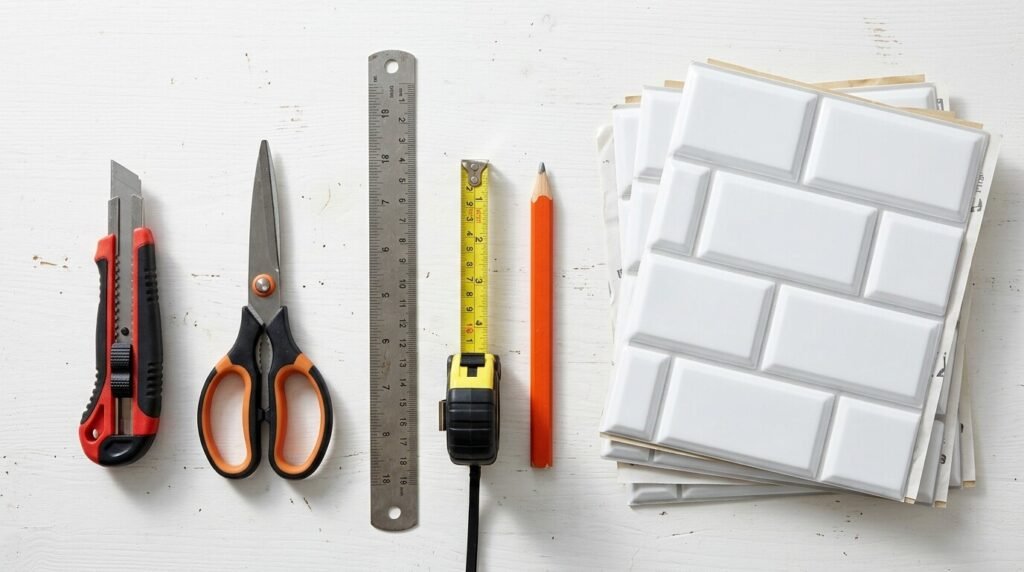
You do not need many tools to cut peel and stick tiles. A sharp utility knife and a metal straight edge are enough for most straight cuts. However, you may need different tools for curves, pipe holes, or thick tiles. Use this table to choose the right tool for your job.
| Tool | Best for | When you may not need it |
| Utility knife | Straight cuts, notches, and for trimming tile edges | You need to cut a round hole or a tight curve |
| Scissors | To cut thin tiles and make simple curves | Your tile is thick or stiff |
| Vinyl tile cutter | To make many straight cuts | You only need to cut a few tiles |
| Hole saw | Cutting round holes for pipes | You need a square hole or an uneven cutout |
| Heat gun | Gently warming some stiff, thick tiles before cutting | Your tile is thin or cuts easily without heat |
You will also need a few small tools to make clean cuts. Keep these items nearby:
- A metal straight edge or speed square to guide your knife
- A pencil to mark your cutting line
- A cutting mat or scrap board to protect the surface underneath
- Extra utility knife blades so you can replace a dull one
3 Things to Consider Before Cutting Peel and Stick Tiles
Before you cut your peel and stick vinyl tiles, check these three things. They will help you get cleaner edges and avoid cracks or uneven cuts.
- Wait for the Tile to Warm Up: If your tile is cold, it may crack when you cut or bend it. Let it sit in a warm room for a while before you start. This helps the tile become easier to cut.
- Use a fresh utility knife blade. A sharp blade helps you cut through the tile smoothly. However, a dull blade can drag across the surface and leave rough edges. Replace your blade if you notice it tearing the tile instead of cutting it cleanly.
- Place your tile on a flat, hard surface. Put a cutting mat or scrap board under your tile before you start cutting. If the surface is uneven, your knife may slip off the cutting line and leave a crooked edge.
You need to remember that clean cut helps your tile fit properly, but it cannot prevent every problem after installation. If the edges start to lift later, find out why peel-and-stick tiles curl at the edges and what may be causing it.
How to Cut Peel and Stick Tile in a Straight Line (Step by Step)
You can cut many peel and stick vinyl tiles in a straight line with a sharp utility knife and a metal straight edge. The process is simple: measure your tile, mark the cutting line, score the surface, and carefully separate the cut. Follow these steps to get a clean edge and help your tile fit properly.
1. Measure the Area Where Your Tile Needs to Fit
First, measure the space where your tile needs to fit. Check the length or width you need to remove, and double-check your measurements before marking the tile. This helps you avoid cutting too much and wasting a tile.
2. Mark Your Cutting Line with Pencil
Next, use a pencil to mark the measurement on your tile. Draw a clear line where you need to cut so you can follow it easily. Keep the backing on while you mark the tile because it protects the adhesive from dust and dirt.
3. Line Up the Metal Straight Edge
It is time to place a metal straight edge along your marked line. Make sure that you hold it firmly in place so it does not slide while you cut. However, keep your fingers away from the path of the knife to reduce the risk of injury.
4. Score the Tile With a Utility Knife
Now, run a sharp utility knife along the straight edge to score the tile. Start with light pressure, then follow the same line two or three more times. Several light passes give you better control and help you avoid a crooked cut or a rough edge.
Tip: Score the top surface of the tile, which is the side you will see after installation. This helps you keep the visible edge neat.
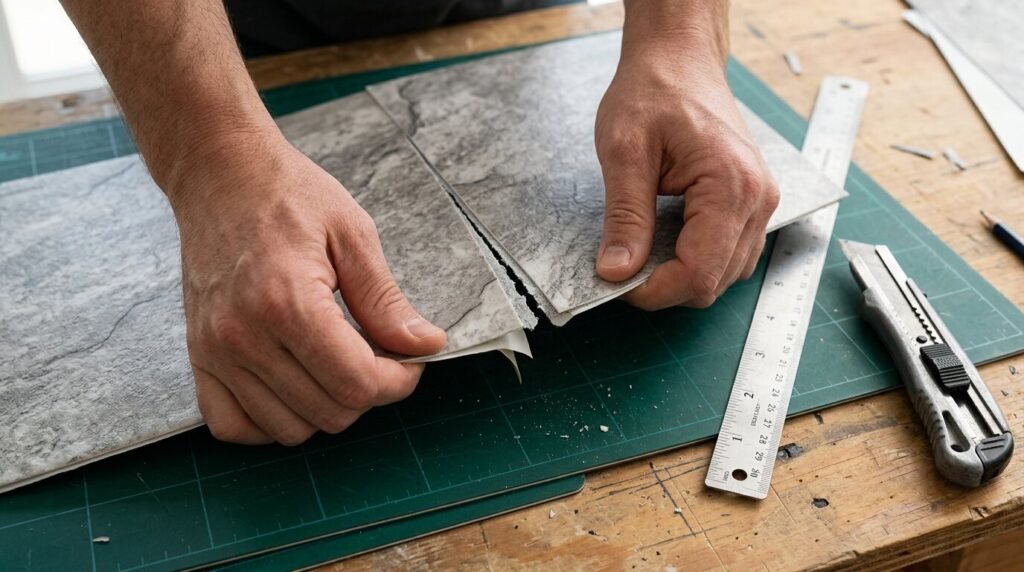
5. Break the Tile Along the Cut
Once you have scored the tile deeply enough, bend it gently along the scored line until it separates. Do not force it, because the tile may crack or break unevenly. If it does not separate cleanly, score the line a little more before trying again.
6. Check and Smooth the Cut Edge
Finally, check the cut edge before placing the tile on your floor. If you notice a rough spot, carefully trim.
How to Cut Curves and Circles in Peel and Stick Tile
Curved cuts help your peel and stick floor tiles fit around shapes such as a toilet base, pipes, and rounded corners.
And these cuts can be tricky because even a small mistake may leave a rough edge or waste a tile. However, you can get a cleaner result by marking the shape before you cut.
1. Make a Paper Template
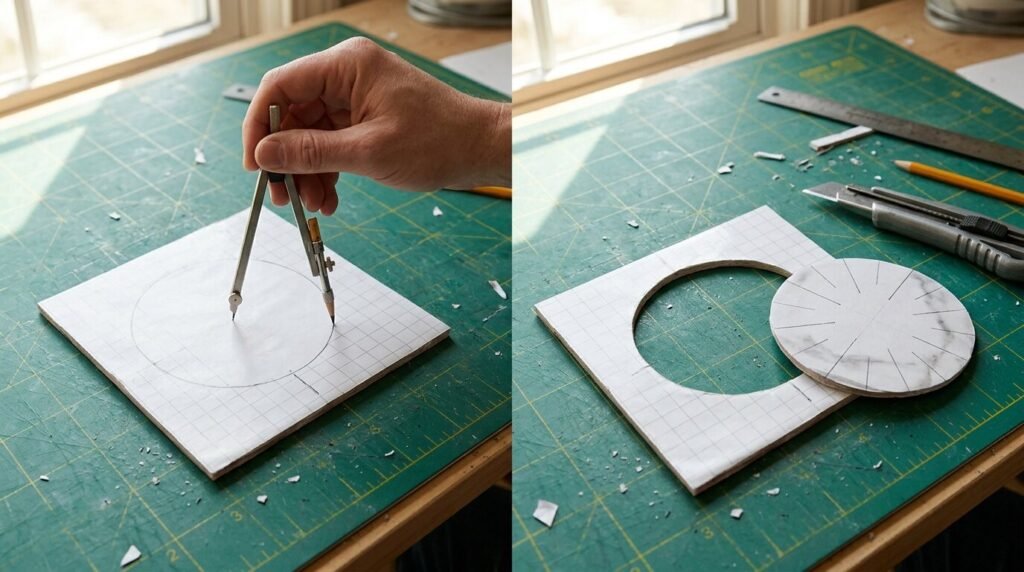
First, place a piece of paper over the area you need the tile to fit around. Trace the curve or circle onto the paper, then cut out the shape. This gives you a guide to follow, so you don’t have to guess where to cut your tile.
2. Trace the Shape onto Your Tile
Next, place the paper template on your tile and trace around it with a pencil. Before you cut, check that the outline is in the right position, especially if your tile has a pattern. This helps you avoid cutting the wrong side or wasting a tile.
3. Cut Along the Curve
Once you have marked the shape, choose a cutting method that suits your tile. You can use scissors for thin, flexible tiles, while thicker vinyl tiles may need a utility knife. Instead of trying to turn sharply in one movement, make small cuts along the marked curve. This gives you more control and helps prevent rough edges or cracks.
4. Check the Fit Before Installing
After cutting, place the tile in position to check how well it fits around the shape. If part of the curve is too tight, trim a little from that area and test it again. Once the tile fits properly, remove the backing and press it into place.
Best Way To Cut Thick or Stone-Look Peel and Stick Tile
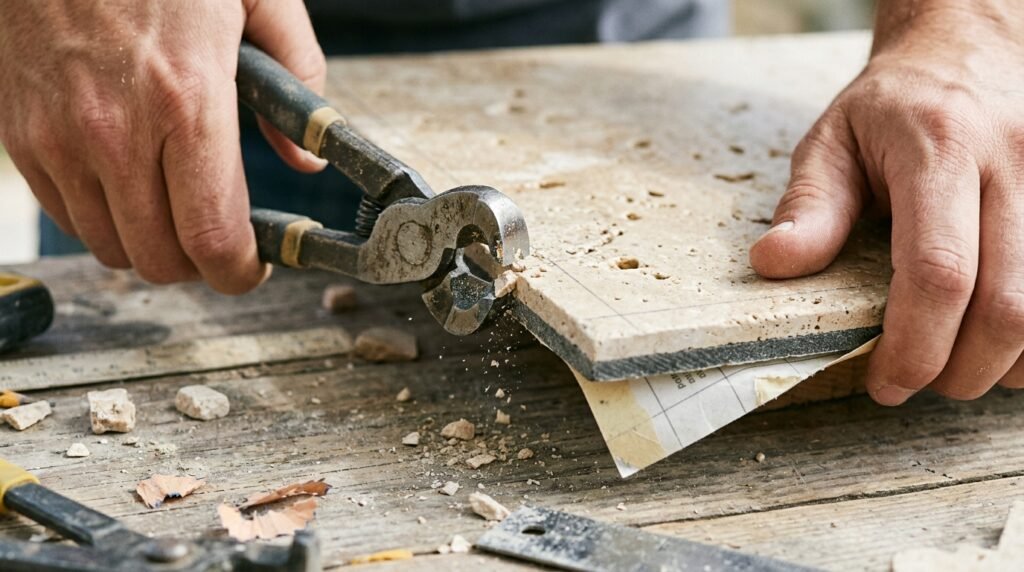
Thick peel and stick tiles can take more effort to cut, while stone-look designs need extra care to keep the finished edge looking natural. So, before you start, check the tile’s thickness and pattern to choose the best cutting approach.
- Cutting Thick Peel and Stick Tiles
Thick tiles may not snap cleanly after one cut. Thick tiles may not snap cleanly after one cut, so you may need to cut deeper along the same line. Run your utility knife over the line a few more times, pressing a little deeper each time. If the tile still does not break easily, check the manufacturer’s instructions instead of forcing it, because bending the tile too much can crack it or damage its edge.
- Cutting Stone-Look Peel and Stick Tiles
If your tile has a printed stone pattern or grout lines, check where the cut will fall before you mark it. When possible, you can position the cut along a printed grout line or a less noticeable part of the pattern. This helps the cut edge blend in with the design, especially where it meets a wall or transition strip.
Before installing the tile, check the cut edge against the surrounding pattern. A little planning can make the finished floor look neater without wasting a tile.
How to Cut Notches, L-Shapes and Holes in Peel and Stick Tiles
Your peel and stick tiles may need more than straight or curved cuts to fit around door frames, room corners, pipes, and floor vents. The key is to mark each shape carefully before cutting, so your tile fits around the obstacle without leaving large gaps.
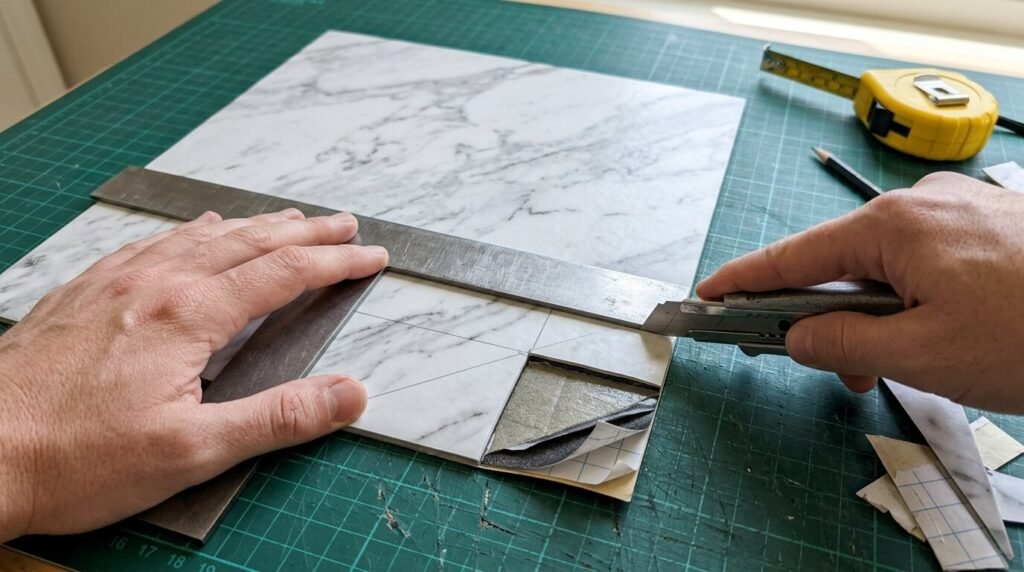
Cut an L-Shape for Corners in Peel and Stick Tile
An L-shaped cut helps your tile fit around a square corner or an obstacle that covers part of the floor.
- Position the tile. Place it over the area where it needs to fit, keeping its edges aligned with the surrounding tiles.
- Mark the corner. Mark where the two sides of the obstacle meet the tile.
- Draw the L-shape. Connect your marks to show the small section you need to remove.
- Cut along both lines. Use a utility knife and a straight edge to follow the marked lines.
- Check the fit. Place the tile back in position and trim any areas that prevent it from fitting neatly.
How to Cut a Notch Around a Door Jamb
A notch lets your tile fit around the bottom of a door frame without leaving a large gap.
- Position the tile near the frame. Slide it into place as far as it can go without forcing it.
- Mark the frame’s shape. Transfer the width and depth of the section you need to remove onto the tile.
- Draw the notch. Connect the marks so you can see exactly where to cut.
- Cut out the marked section. Follow the lines with your utility knife, removing only the part that blocks the fit.
- Test the tile. Place it beside the door jamb again and make small adjustments if needed.
How to Cut a Hole for a Pipe or Floor Vent
A pipe needs a round opening, while a floor vent may need a rectangular or other shaped cut, depending on its design.
- Measure the opening’s position. Measure from the tile edges to the center of the pipe or the edges of the vent.
- Mark the shape on your tile. Draw a circle for a pipe or outline the vent opening. Check your measurements before cutting.
- Cut the opening. A hole saw of the correct size can make a neat circle. For a small opening, you can carefully use a utility knife if the tile material allows it. For a vent, cut along the marked outline.
- Test the fit. Place the tile over the opening to check that it lines up correctly. Trim small areas if needed before removing the backing.
For a pipe that is already fixed in place, you may need to cut a slit from the tile’s edge to the hole so you can fit the tile around it. Keep the slit as narrow as practical, and make sure the finished cut does not leave an unnecessarily large gap.
How to Prevent Cracks and Chips When Cutting Peel and Stick Tiles
Your peel and stick tile can crack, chip, or tear if you use the wrong cutting method or put too much pressure on it. However, you can avoid many of these problems by adjusting how you cut the tile. Follow these steps to keep the edges clean and reduce waste.
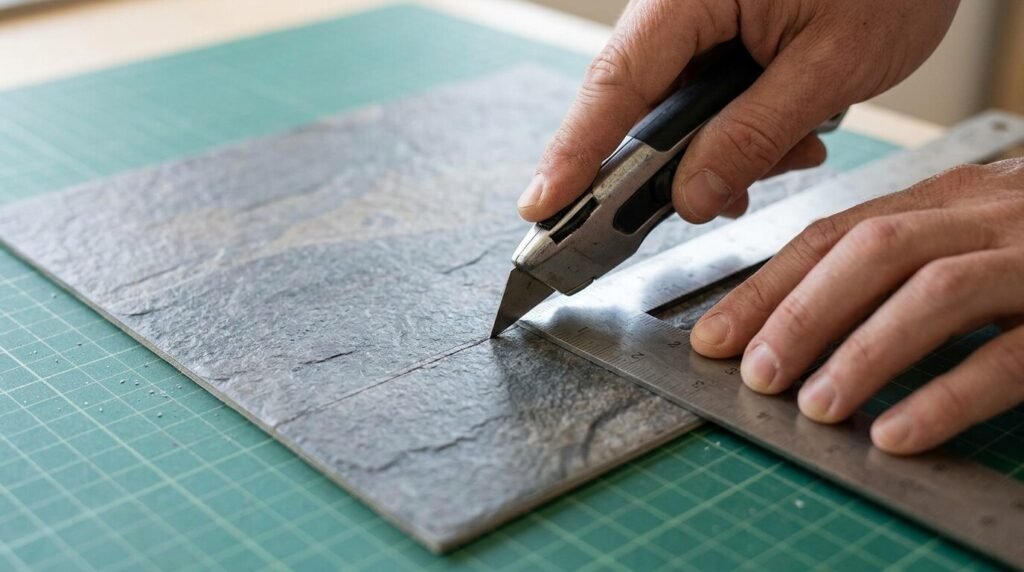
Before you stick the tile down, check that each cut fits without forcing or bending the tile. A close fit looks neater, but do not make the opening so tight that the tile buckles or presses against the obstacle.
1. Use Light Pressure When Cutting
When you start cutting, do not press the knife too hard into the tile. Too much pressure can make the blade slip or damage the tile’s surface. Instead, guide your utility knife along the cutting line with steady, light pressure.
2. Make Several Passes Instead of One Deep Cut
If you try to cut through the tile in one pass, you may end up with a rough edge or a crack. So, run your knife along the same line a few times, making each cut a little deeper. This gives you better control and helps the tile separate more cleanly.
3. Do Not Force the Tile to Break
If you are using the score-and-break method, bend the tile gently along the scored line. If it does not separate easily, do not force it because this can cause chips or cracks. Instead, score the line a little deeper before trying again. If your tile is too flexible or does not break cleanly, cut all the way through it with your utility knife.
4. Keep the Tile Steady While Cutting
If your tile moves while you cut, the blade can slip and leave a chipped or uneven edge. To avoid this, place the tile on a flat cutting mat or scrap board. Hold it steady, and keep your fingers away from the blade as you cut.
5. Clean Up Small Chips Before Installing
After you finish cutting, check the edge for small chips or rough spots. You can carefully trim minor uneven areas with a sharp utility knife. However, if a large piece breaks off or a crack runs across the tile, cutting it again may not fix the damage. Use another tile if the damaged edge will remain visible or prevent a proper fit
Fix the Bad Cut That Happens While Cutting Peel and Stick Tile
Sometimes, your peel and stick tile may not turn out the way you expected after cutting. The edge may look rough, the cut may be uneven, or you may remove too much of the tile. However, you may be able to fix small mistakes without wasting the whole tile. Here is what you can do for each type of cutting mistake.
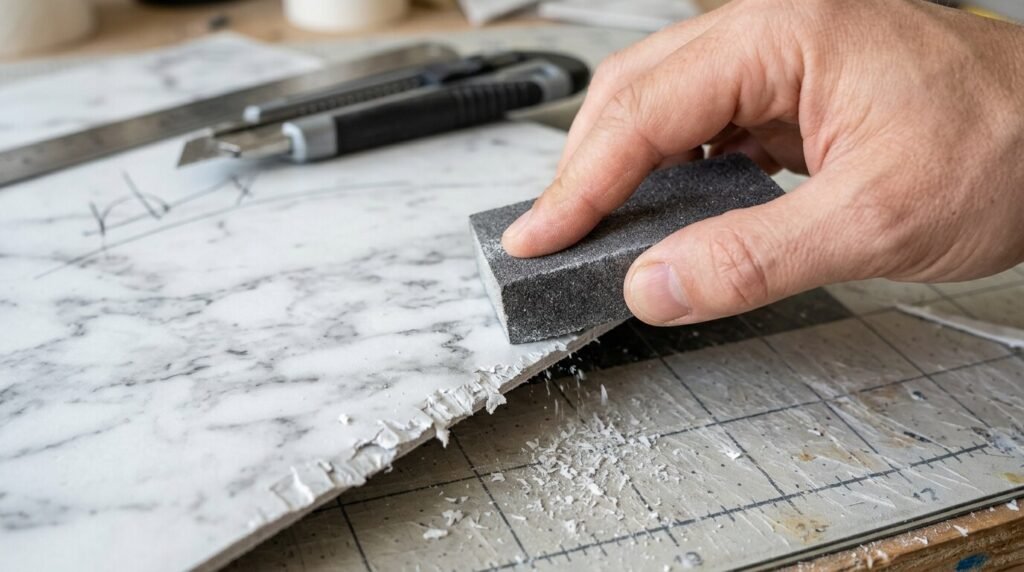
- Jagged edge: If the edge has small uneven parts, carefully trim them with a sharp utility knife until the edge looks cleaner.
- Rough edge: If the cut edge feels rough, smooth it gently with a fine sanding block, but only if the tile material allows sanding.
- Too much cut off: If you cut away too much material or crack the tile, it is better to use a new tile than try to hide the mistake. A damaged tile may leave a gap or make the finished floor look uneven.
That is why you should buy a few extra tiles before starting your project. If a cut goes wrong, you can replace the damaged tile without delaying the rest of your work.
Safety Tips for Cutting Peel and Stick Tiles
When you cut peel and stick tiles, a sharp utility knife helps you get clean edges, but you also need to handle it carefully. Follow these safety tips to protect your hands and avoid accidents while cutting.
- Cut away from your body. Always move the knife away from your hands and body so the blade does not cut you if it slips.
- Keep your fingers clear. Hold the straight edge firmly, but keep your fingers away from the cutting line.
- Wear cut-resistant gloves if needed. Gloves can help protect your hands, but they do not make it safe to place your fingers near the blade.
- Handle used blades carefully. Put old blades in a safe container so they cannot cut you or anyone else.
FAQs
Can You Cut Peel and Stick Tile With Scissors?
Yes, you can use scissors to cut thin peel and stick tiles, especially when you need to make small curved cuts. However, if your tile is thick or stiff, use a utility knife instead because scissors may not cut through it cleanly.
Should You Cut Peel and Stick Tile With the Backing On?
Yes, keep the backing on for most cuts because it helps protect the adhesive from dirt and keeps glue off your cutting surface. However, if you need to see a curved line more clearly, you can remove the backing first. Just keep the sticky side clean so the tile can still stick properly.
What Is the Best Knife for Cutting Peel and Stick Tile?
A sharp utility knife is a good choice for most peel and stick tiles because it lets you score straight lines, cut notches, and trim edges. Use a fresh blade for cleaner cuts, and make sure your tile is held steady while you work.
Can You Use a Tile Cutter on Peel and Stick Tile?
Yes, you can use a vinyl tile cutter to make straight cuts in many peel and stick tiles. However, check that the cutter is suitable for your tile’s material and thickness. If you only need to make a few cuts, a sharp utility knife and a metal straight edge may be all you need.
Final Thoughts
You can get clean cuts on peel and stick tiles without complicated tools. Just measure carefully, use a sharp blade when needed, and check each tile’s fit before you stick it down. If a cut doesn’t look right, take your time to trim it rather than forcing the tile into place.