
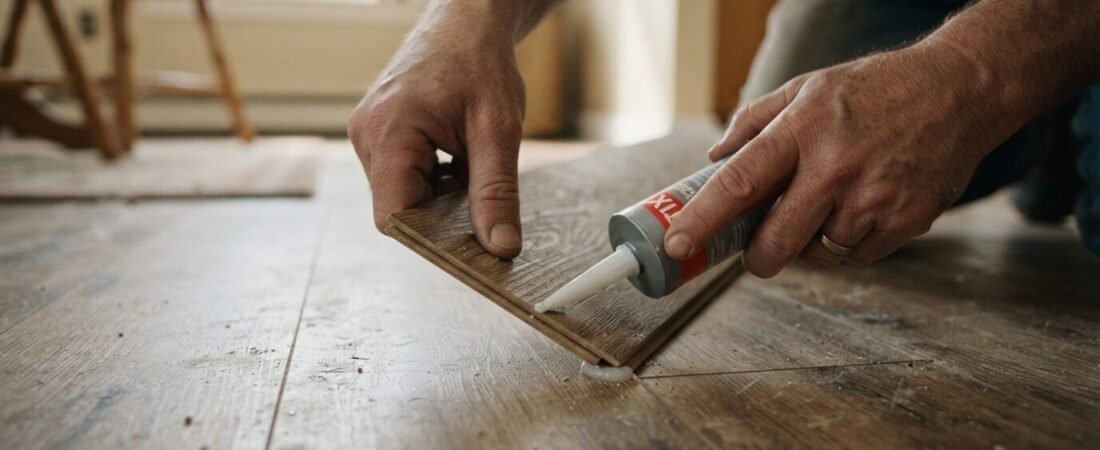
If you’re here, you probably already know why your peel-and-stick tile is curling. Maybe it’s moisture, maybe it’s heat, maybe the edge just never stuck down right. If you want to go back and figure out the cause first, check out our guide on why peel-and-stick tiles curl.
This guide focuses on the repair itself. You’ll learn how to flatten a curled tile, reattach a lifted edge, use gentle heat safely, and decide when extra flooring adhesive is needed. You’ll also see what to do if the tile starts curling again and when replacing it is the better option
Here, we’re just going to fix it with the right tools, the right steps, and the adhesive that will actually hold this time. However, if you are new to this peel and stick flooring, read our beginner guide to understand the basics first.
Which Type of Curling Peel-and-Stick Floor Tile Can Be Fixed?
Yes, in many cases you can. The right fix depends on how much the tile has curled and whether the tile and adhesive are still in good condition.
| Curl Type | Can It Be Fixed? | What It May Need |
| Small curled corner | Yes, usually the easiest fix | Gentle heat and pressure, often without new adhesive |
| One lifted edge, tile still flexible | Yes | Clean underneath, then press it back down; fresh adhesive may be needed |
| Large curled section or several tiles | Maybe, check first | Look for moisture or an uneven floor before repairing |
| Badly warped, cracked, or deeply creased tile | Usually no | Replace the tile instead |
A helpful tip: If you kept any extra tiles from when the floor was first installed, now’s the time to use them. Tiles from a different batch or a different year can be a slightly different shade, especially if the rest of your floor has faded a bit from sunlight over time. If you need a refresher on getting the new tile to sit and line up correctly, our step-by-step installation guide covers that in full.
Check the Tile Before You Try to Flatten It- Inspection Process
Before you grab the hair dryer, take a few seconds to check the tile. You don’t want to flatten a tile that is already too damaged to save. A quick inspection can also show you if there is a problem underneath the tile that needs to be fixed first.
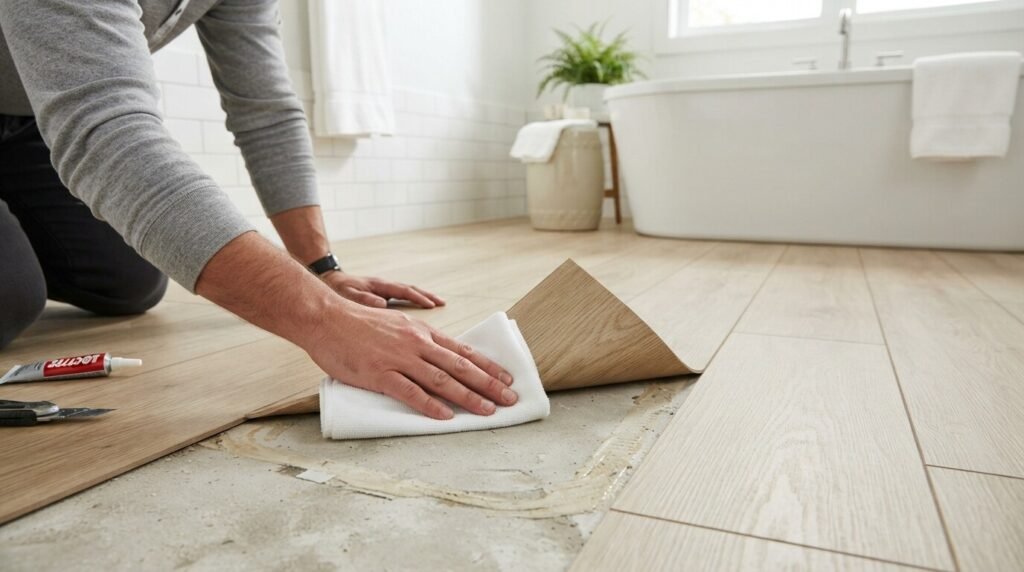
Ask yourself:
- Is the vinyl cracked anywhere?
- Does it have a deep crease that stays bent when you press it down?
- Does the tile look stretched or badly warped?
- Is the backing still in one piece?
- Is there still adhesive on the back, or has it completely dried out or worn away?
- Is the floor underneath completely dry?
- Do you see dirt, dust, or old adhesive under the curled edge?
- Does the floor underneath feel reasonably flat, without a bump or dip?
If the tile is cracked, badly creased, or the floor underneath is damp, don’t try to flatten it yet. A damaged tile may need to be replaced, while a damp floor needs to dry out and be fixed before the tile can stick properly. However, If the tile is still flexible, the backing is in good shape, and the surface underneath is clean, dry, and reasonably flat, you can move on to the repair.
You’ll Need Before You Start
You don’t need anything fancy for this. Most of these items are already in your house, and the rest are cheap and easy to find at a hardware store.
- Hair dryer: A hair dryer is useful for gently warming a curled vinyl tile and making the material more flexible. It can also help soften pressure-sensitive adhesive so the tile can lay flat again.
- Compatible vinyl floor adhesive: You may need a new flooring adhesive if the original adhesive backing has dried out, collected dirt, or no longer has enough tack to hold the tile down. Choose an adhesive made for vinyl floor tiles rather than a general household glue.
- Putty knife or plastic scraper: Use this to carefully remove loose adhesive, dirt, or debris from underneath the lifted edge. A plastic scraper is a safer choice if you are worried about scratching the floor.
- Isopropyl alcohol or mild floor-safe cleaner: You need a clean bonding surface before you reattach a lifted vinyl floor tile. Use the cleaner to remove dust, grease, or residue, then let the area dry completely.
- Vinyl floor roller or hand roller: Pressure matters when you reattach peel-and-stick flooring. A roller helps press the tile back against the floor and improves contact between the adhesive and the surface.
- Flat board and weight: A flat board covered with a clean protective layer can spread pressure across the repaired area. Add a suitable weight on top to keep the curled edge or lifted section flat while the adhesive sets.
- Clean cloth or paper towels: Keep these nearby for wiping away cleaner, loose dirt, or adhesive residue before the tile goes back down.
- Utility knife: You only need this if the tile is too damaged to repair and you decide to remove and replace it.
You may not need every item on this list. A small curled corner may only need gentle heat, pressure, and a way to keep the tile flat. A lifted edge with failed adhesive may need cleaning and a compatible vinyl flooring adhesive as well.
Heat Method Comparison: Iron vs. Hair Dryer vs. Heat Gun
Not every heat source works the same way, and using the wrong one can either take forever or damage your tile. Here’s how the three most common options stack up.
| Tool | Best For | Heat Control | Risk of Damage | Time Needed |
| Hair dryer | One small curled corner | Low heat, hard to overheat | Very low | Slower, needs a few minutes of steady heat |
| Clothes iron (with a towel or foil underneath) | A whole edge or a full tile | Medium to high, needs care | Medium, can scorch vinyl if left too long in one spot | Fast, usually under a minute per section |
| Heat gun | Several tiles or a stubborn, old repair | High, very adjustable | Higher, easy to overheat vinyl if held too close | Fastest, but needs practice to control |
How to Flatten a Slightly Curled Peel-and-Stick Tile
If you checked the tile above and it only has a small curl with no cracks or deep crease, and the original adhesive still looks mostly intact, you may not need new glue. Try this lighter fix first.
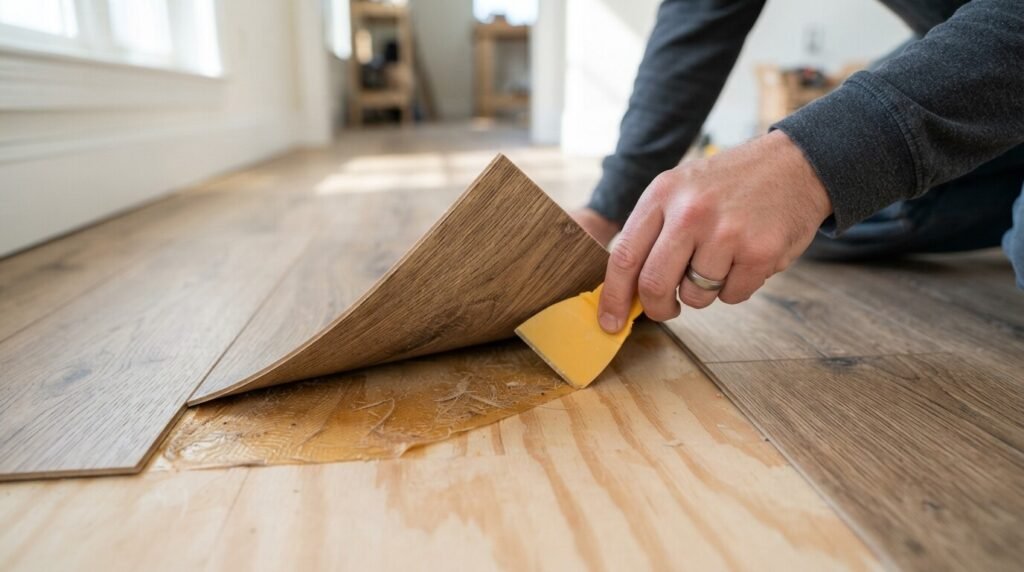
Step 1: Warm the Curled Area Gently
First, use your hair dryer on a medium setting and keep it moving over the curled area. Don’t hold the heat in one spot because warm vinyl can soften quickly and too much heat can damage it.
For now, you only want the tile to become soft and flexible enough to bend back down.
Step 2: Press the Tile Back Into Place
Now, once the tile feels warm and flexible, slowly press the curled section back down with your hand.
Start from the flat part of the tile and work toward the curled edge. Make sure the entire edge is touching the floor, not just the middle of the curl.
Step 3: Roll the Tile to Improve Contact
Next, run a roller over the repaired area, moving from the center of the tile toward the edge you just flattened.
This spreads the pressure evenly, helps the original adhesive make better contact, and pushes out small air pockets.
Step 4: Keep the Tile Flat While It Bonds
Now, place a clean sheet of paper or a thin cloth over the tile to protect the vinyl. Add something flat and heavy on top, such as a book or a small board with weight on it.
Keep the tile pressed down for a few hours, or for as long as the adhesive instructions recommend. This gives the original adhesive enough time to grab the floor again.
If the edge pops back up after you remove the weight, however, the original adhesive may be too far gone to hold the tile. At that point, move on to the full reglue steps below.
Fixing Curling Peel-and-Stick Tiles in Bathrooms, Kitchens, and High-Traffic Spots
Where your peel-and-stick floor tile is curling can change how you handle the repair. A bathroom tile has different concerns than a tile in a busy hallway, so don’t treat every repair the same way.
Also, you can learn about the bathroom floor guide before going in full for the peel and stick tile selection.
| Location | What to Do Differently |
| Bathrooms and kitchens | After repairing the tile, you can add a thin line of clear caulk along the repaired edges and seams to help keep water from getting underneath. |
| Hallways and high-traffic spots | If you cannot keep people off the repaired area for a full day, double-sided flooring tape can be an option. It holds right away instead of needing the same cure time as flooring adhesive. |
| Rentals | If you need to protect the floor underneath, look for removable adhesives or flooring tapes that are suitable for your tile and floor. Avoid contact cement because it can bond too strongly and make clean removal difficult. |
The main thing is to make sure the repair matches the location. Moisture is the bigger concern in bathrooms and kitchens, while foot traffic matters more in hallways and other busy areas.
How to Reattach a Lifted Edge That Won’t Stick
If the quick fix above didn’t hold, or the tile clearly needs new adhesive, follow these steps. Each step prepares the tile for the next one, so don’t skip the cleaning or drying stages.
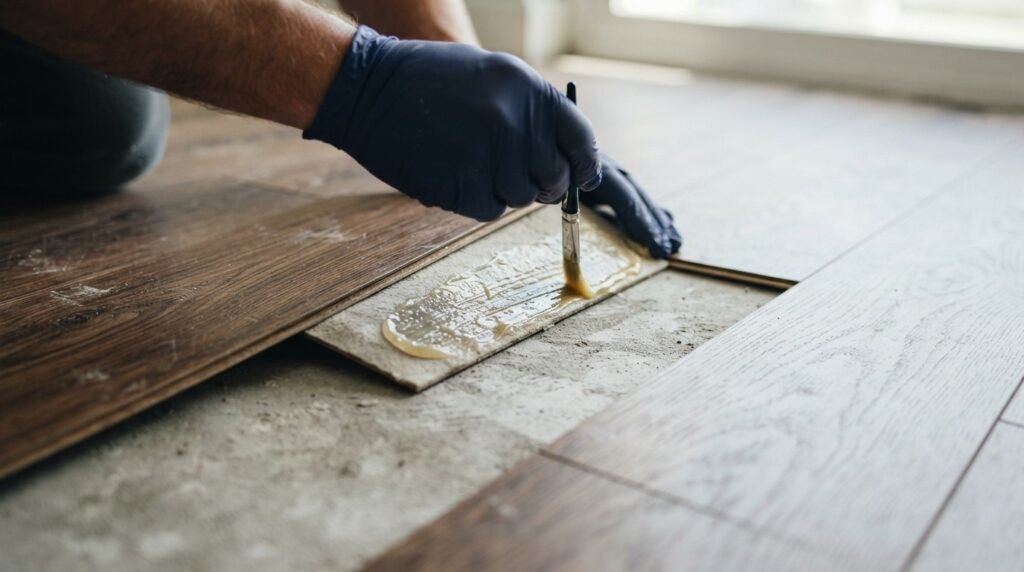
Step 1: Clean Under the Lifted Edge
First, gently lift the curled part just enough to see underneath. Use a small brush or vacuum nozzle to remove dust, grit, and crumbs.
Make sure the area is clean before moving on. Otherwise, the new adhesive may stick to the dirt instead of the floor, and the tile can curl again.
Step 2: Heat the Whole Tile
Now, warm the whole tile from corner to corner, not just the curled tip. The old adhesive under the rest of the tile needs to soften too.
Move your hair dryer or other heat source slowly and evenly, like you are ironing a shirt. The goal is to make the vinyl flexible, not hot enough to damage it.
Step 3: Remove the Old Adhesive
Once the tile is warm and flexible, gently lift it farther so you can reach the old adhesive underneath.
Use a putty knife to scrape away the dried adhesive from the tile and floor. Work slowly and make sure you don’t scratch the vinyl or damage the subfloor.
Step 4: Clean Both Surfaces
Next, wipe the back of the tile and the exposed floor with your cleaner. Remove any remaining dust, grease, or adhesive residue.
Now let both surfaces dry completely. New adhesive will not bond properly to a wet or dirty surface.
Step 5: Add the New Adhesive
Apply a thin, even layer of compatible vinyl flooring adhesive to the floor or tile, depending on the product instructions.
Don’t add too much. Extra adhesive can squeeze out around the edges and may stop the tile from sitting flat.
Step 6: Press the Tile Back Down
Now put the tile back in its original position. Press it firmly from the center toward the edges so the adhesive makes good contact.
Hold it down for about 30 to 60 seconds before moving to the next step.
Step 7: Keep It Pressed Down
Next, cover the repaired area with a clean sheet of paper or thin cloth. Add a flat board and some weight on top so the pressure stays even across the repair.
Don’t place a heavy or uneven object directly on the vinyl, as it can leave a dent.
Keep the weight in place for at least 24 hours. This gives the adhesive time to bond properly. However, if your adhesive has a specific cure time, follow that instead.
Step 8: Roll the Tile Flat
Once you remove the weight, use a vinyl floor roller or rolling pin over the tile a few times.
This helps remove small air pockets and makes sure the whole tile is firmly flat against the floor, including the repaired edge.
How Much Heat Should You Use on Peel-and-Stick Floor Tiles?
Here’s a simple rule for repairing curling peel-and-stick floor tiles. If you are fixing one small curled corner, grab the hair dryer. It is slower, but it gives you better control and gently warms the peel-and-stick tile and its adhesive backing.
If you are working on a full peel-and-stick tile or a whole lifted edge, you can use an iron. However, make sure you place a towel or sheet of aluminum foil between the iron and the peel-and-stick tile. This keeps the hot iron from touching the vinyl directly and helps prevent the tile from scorching.
The goal with any heat source is to make the peel-and-stick floor tile warm and flexible so the curled edge can lay flat again. You are not trying to melt the vinyl or burn through the adhesive.
Watch for these signs that you are using too much heat:
- The peel-and-stick tile starts to look unusually shiny or glossy.
- The vinyl surface looks slightly melted.
- You notice a burning or plastic smell.
- The color starts to change or fade in one spot.
- The tile feels sticky and unusually soft instead of simply flexible.
If you notice any of these signs, move the heat away right away and let the peel-and-stick tile cool down before you continue.
A little patience here can save the tile, the adhesive backing, and the money you would spend replacing it.
Should You Add More Adhesive to the Tile?
Not always. Before you add new adhesive to a curling peel-and-stick floor tile, check what the original adhesive looks like underneath.
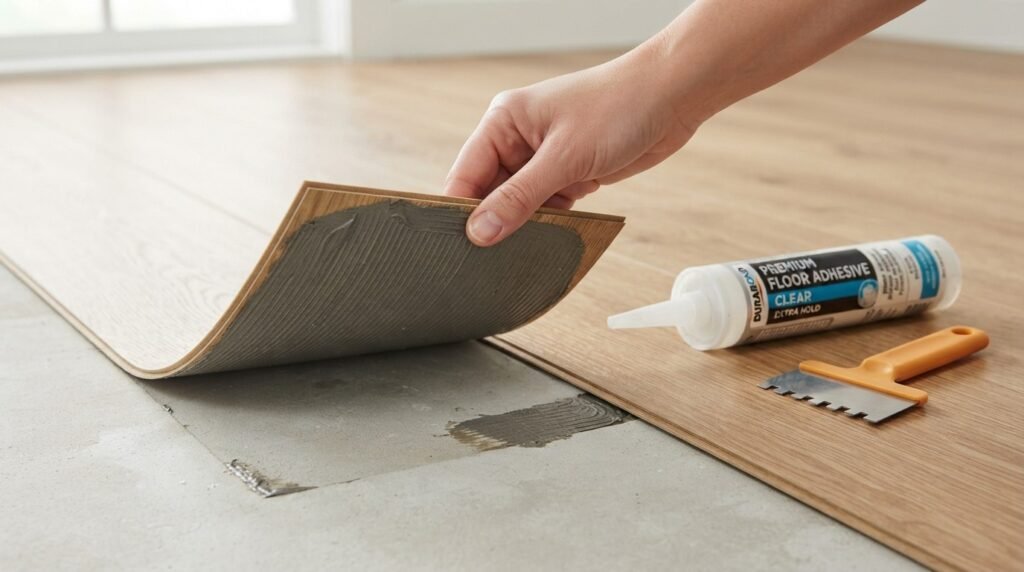
| What You See Underneath | Do You Need New Adhesive? |
| Adhesive still looks sticky and intact | No, try the flatten-only method first |
| Adhesive is dried out, powdery, or missing in spots | Yes, use an adhesive that is compatible with vinyl flooring |
| The flatten-only method didn’t hold | Yes, move on to the full reglue steps |
If you do need new adhesive, don’t just grab whatever glue you have in the garage. Make sure the adhesive is compatible with vinyl floor tiles and your subfloor. Wood, concrete, and existing flooring can require different products.
Also, check the peel-and-stick tile manufacturer’s instructions before adding adhesive. Some tiles are designed to be used with their original pressure-sensitive backing and may not recommend additional glue. Go to the last section of this article and see what adhesive will work for your floor tile.
Best Adhesives for Re-Gluing Peel-and-Stick Tile (and What to Avoid)
The sticky backing on your tile was only meant to be stuck down once. Once it fails, you need a real adhesive made for vinyl flooring.
| Adhesive Type | Best For | Notes |
| Pressure-sensitive vinyl adhesive | Most repairs | Closest match to the original backing; stays flexible |
| Double-sided flooring tape | Small curls, corners | Quick, no drying time |
| Contact cement | Edges that keep lifting repeatedly | Strong hold, needs careful, even application |
| Thick construction adhesive (e.g., Liquid Nails) | Avoid | Dries hard and rigid, can push edges back up instead of holding them down |
FAQs
How long do I need to wait before walking on a repaired tile?
Give it a full 24 hours under weight before you walk on it normally. Walking on it too soon is one of the most common reasons a repair fails.
Can I reuse a curled tile after flattening it, or do I need a new one?
If the tile is still flexible and hasn’t cracked or creased permanently, you can usually reuse it after heating and flattening it. If it has a hard crease or a crack, it won’t lie flat again and should be replaced.
Do I need professional tools, or will household items work?
Household items work fine for most repairs. A hair dryer, a clothes iron, some books for weight, and a basic adhesive from the hardware store will handle the vast majority of curling tile repairs.
Ending Note
Once your tile is fixed, the best thing you can do is stop it from happening again. If you haven’t already, take a look at our guide on why peel-and-stick tiles curl for the prevention tips at the end. And if a tile is too far gone to save, our guide on how to remove peel-and-stick floor tiles will walk you through taking it out cleanly.