
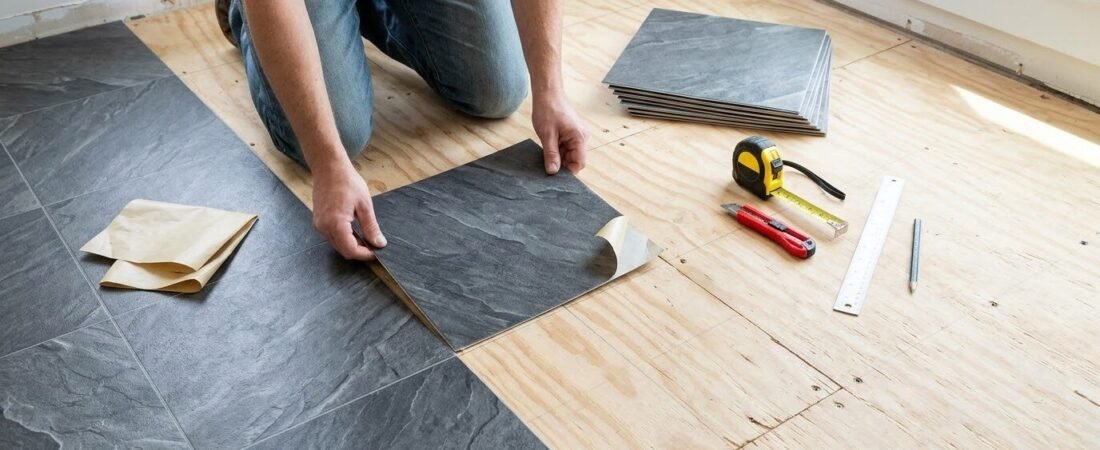
You can install peel and stick floor tiles on plywood by first making the surface smooth, clean, and ready for the tiles to stick. Then, apply primer if needed, mark your starting lines, and lay the tiles in place.
Also, you can install those sticky floor tiles in an average room within a few hours to a day. However, getting the plywood ready takes most of your time. If you prepare the plywood well, your self-adhesive vinyl tiles are more likely to stay flat and stick well instead of lifting after a few months.
This guide is for you if your plywood is already suitable for peel and stick tiles. If you are not sure, first read our guide on whether you can put peel and stick floor tiles over plywood. Then come back here to follow the steps.
Part 1: Quick Prep Checklist Before You Start To Install Peel and Stick on Plywood
Before you put your first tile, take a little time to prepare your plywood and tiles. Each step will help you avoid bumps, loose tiles, and other problems later. Here is what you need to check before you start.
- Secure your plywood first. If any part of your floor feels loose, secure it with screws or ring-shank nails. Make sure you drive them into the floor joists underneath. Also, check that every screw and nail head sits level with the plywood or slightly below it. If any head sticks up, it can leave a bump under your tiles.
- Fill and sand seams, gaps, and holes. Check where your plywood sheets meet and look for any gaps or holes. Fill these areas, let the filler dry, and sand them smooth. This gives you a flat surface for your tiles and helps prevent uneven spots from showing through.
- Clean your floor and apply primer if needed. After you finish filling and sanding, vacuum your plywood to remove dust, then wipe it clean. If your tile manufacturer recommends primer, apply the right one and let it dry for the time stated on the label. You can find more help choosing a best primer in our separate primer guide
- Check the surface and test a tile. Once your floor is clean and dry, shine a flashlight close to the surface so the light runs across it. This helps you spot bumps and raised nail or screw heads that you might otherwise miss. Remove any dust you find, then stick a spare tile in a hidden spot and leave it for 24 to 48 hours. If you can lift it easily, check the surface and primer before you lay the rest of your tiles.
- Let your tiles adjust to the room. While you prepare the floor, give your tiles time to adjust to the room’s temperature. Keep the boxes flat in the room for 48 hours before installation, at a temperature of 65°F or above. After you lay the tiles, keep the room between 55°F and 85°F and maintain a steady temperature for another 24 to 48 hours. This helps you avoid temperature changes that could affect how your tiles settle.
Part 2: How to Install Peel-and-Stick Floor Tiles on Plywood
Before you install your tiles, mark your floor so you know where to start and how to keep each row straight. This also helps you avoid placing tile edges directly over the lines where your plywood sheets meet.
Step 1: Mark Where Your Plywood Sheets Meet
First, look for the lines where your plywood sheets meet. Most sheets are 4 by 8 feet, so you will likely see several of these lines across your floor. Mark each one with chalk or low-tack tape so you can see where it runs as you plan your tiles.
As you plan your rows, try not to place the edges of two tiles directly over a plywood seam. If the seam creates a small bump, it may show through your tiles and leave your finished floor looking uneven.
Step 2: Mark the Center of Your Floor
Now, mark the center of your floor. These marks will help you place your tiles in straight rows. This is important because your walls may not be perfectly straight.
- Mark your first line. Measure two opposite walls and mark the halfway point on each. Then use a chalk line to draw a straight line between the two marks.
- Mark your second line. Do the same with the other two walls. Draw a second line between those marks. It should cross your first line near the center of your floor.
- Check that your lines meet at a right angle. From where the lines cross, measure 3 feet along one line and 4 feet along the other. Mark both spots, then measure the distance between them. It should be 5 feet. If the distance is different, adjust your second line until it measures 5 feet.
Once you mark your floor, use these lines to guide you as you place your tiles. This will help you keep the rows straight, even if your walls are uneven.
Step 3: Place Your Tiles Without Sticking Them Down
First, keep the paper backing on your tiles. Place one row along each line you marked on your floor. Start at the center and work toward each wall. Do not stick your tiles down yet.
Next, check the space between your last tile and each wall. Leave about 1/8 inch of space at each wall.
If you would have a strip less than half a tile wide at any wall, move your starting line by half a tile. This will give you wider pieces at the walls. You can cut wider pieces more easily, and they are less likely to lift.
Step 4: Adjust Your Tile Rows
For example, imagine your room is 10 feet 4 inches wide and you are using 12-inch tiles. If you start in the center, you may end up with a 2-inch strip at each wall. Move your starting line by 6 inches, and you can make both end pieces about 8 inches wide instead.
Now, compare your tile edges with the plywood seams you marked in Step 1. If many tile edges line up with the same seam, adjust your starting lines or change your tile layout. This helps you avoid uneven spots in your finished floor.
Step 5: Place Your First Tile
Now that your floor is marked, you can place your first tile. Move your loose tiles to one side, but keep them in the same order so you know where each tile belongs.
- Line up your first tile. Place it in one corner of the center cross. Make sure two edges line up with your chalk lines.
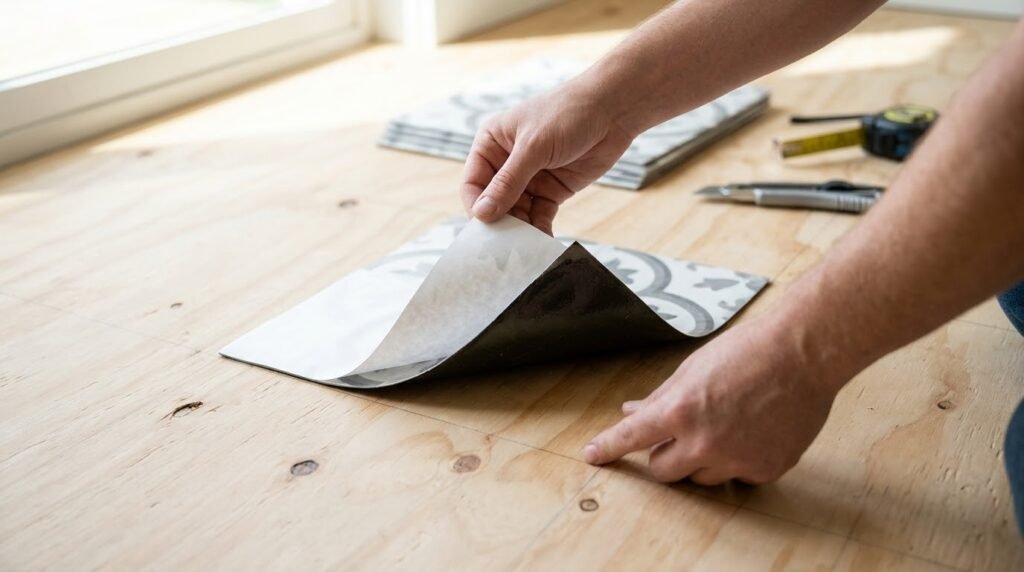
- Remove the backing. Hold the tile by its edges so you do not touch the sticky side. Then peel off the paper backing.
- Place the tile. First, line up one edge with the chalk line. Then slowly lower the rest of the tile onto the floor.
- Press the tile down. Once the tile is in place, press from the center out to the edges with your palm. This helps push out trapped air.
Step 6: Keep Your Tile Pattern and Colors Even
After you place your first tile, check the pattern on the back of your other tiles. If you see arrows or printed patterns, follow your brand’s instructions so you place each tile in the right direction.
As you continue, take tiles from different boxes instead of using one box at a time. This helps you mix small color differences between boxes, so your finished floor looks more even.
Step 7: Place Tiles One Quarter at a Time
Start with one quarter of your floor and finish it before moving to the next. This helps you keep the tiles straight and in the right position.
- Start along your chalk lines. Place tiles along both lines to form an L shape.
- Fill the space between the lines. Add tiles in a step pattern, with each new row one tile shorter than the last.
- Place each tile carefully. Line up one edge with the tile beside it, then lower the tile onto the floor. Do not slide it into place or let the edges overlap. The edges should meet without pressing tightly against each other.
- Check that your rows stay straight. After every three or four tiles, hold a straightedge along the row. Every few rows, check that the tiles still follow your chalk lines.
- Finish one quarter before moving on. Then work on the next quarter. Leave the quarter nearest the doorway until last, so you can leave the room without stepping on tiles you have just placed.
Step 8: Keep Your Work Area Clean
Use a kneeling board as you work. Keep the paper backing on each tile until you are ready to place it.
Before you place more tiles, remove dust from the plywood with a soft broom or tack cloth. Also, check the marks where your plywood sheets meet. If a row of tile joints lines up with a plywood seam, adjust the tile positions where needed so the joints do not run directly over the seam.
Step 9: Cut and Fit the Border Tiles
When you reach the walls, measure and cut the remaining tiles to fit. Use a metal straightedge and a sharp utility knife for straight cuts. For corners, pipes, and door frames, mark the shape on your tile before cutting. See our guide on how to cut peel-and-stick tiles cleanly for step-by-step cutting tips.
Leave about a 1/8-inch gap between your tiles and the walls or other fixed objects, unless your tile manufacturer says otherwise. Your baseboards or trim can cover this gap. At doorways, check that your tiles fit under the closed door, and use a transition strip where your new floor meets another type of flooring.
Step 10: Finish the Edges and Let the Floor Set
Once you finish placing your tiles, attach the baseboards and quarter-round trim to the wall, not through the tiles. Keep the trim just above the floor so the 1/8-inch gap stays open. Add a transition strip where your new floor meets another type of flooring.
Wait 24 hours before you move furniture back, allow heavy foot traffic, or clean the floor. This gives the adhesive time to set. Put felt pads under furniture legs to protect your tiles from scratches.
After 24 to 48 hours, check the tile edges and press down any corners that have started to lift. Before you wash the floor for the first time, check your tile brand’s instructions for how long you need to wait.
Installation Mistakes That Can Cause Tiles to Lift
You can help your tiles stay in place by avoiding these common mistakes:
- If you do not press the tiles down with a floor roller, the adhesive may not stick well to the plywood.
- If you start at a wall, your rows may end up crooked, leaving narrow pieces that can lift at the edges.
- If tile joints fall directly over plywood seams, the seams can create raised spots under your tiles.
- If you skip primer or the bond test, your tiles may not stick well to the plywood.
- If the room is too cold, the adhesive may not grip the floor properly.
- If you leave dust on the plywood, the adhesive may not bond well to the floor.
- If you slide tiles into place, the adhesive can pick up dirt and lose some of its grip.
- If you kneel on fresh tiles, you may move them before the adhesive has time to set.
FAQs
Should You Use a Floor Roller on Peel-and-Stick Tiles?
Yes. After you place your tiles, use a 75–100 lb floor roller if your tile manufacturer recommends one. It presses the adhesive firmly against the plywood and helps remove trapped air. This is an important step because plywood can flex more than concrete.
How Long Should You Wait Before Walking on Peel-and-Stick Tiles?
Wait about 24 hours before you move furniture back, allow heavy foot traffic, or clean your new floor. This gives the adhesive time to set. Follow your tile brand’s instructions, as the waiting time may vary.
How Long Does It Take to Install Peel-and-Stick Tiles Over Plywood?
You can usually install the tiles in an average room in a few hours to a full day. However, you will need more time if you also need to fill, sand, or prime the plywood and let it dry. Set aside a weekend if you want enough time to complete the work without rushing.
Ending Note
Peel-and-stick tiles can give your plywood floor a fresh look when you prepare the surface and install each tile carefully. Take your time with the layout, keep your rows straight, and press the tiles down well. These small steps can help your new floor stay in place and look neat for longer.