
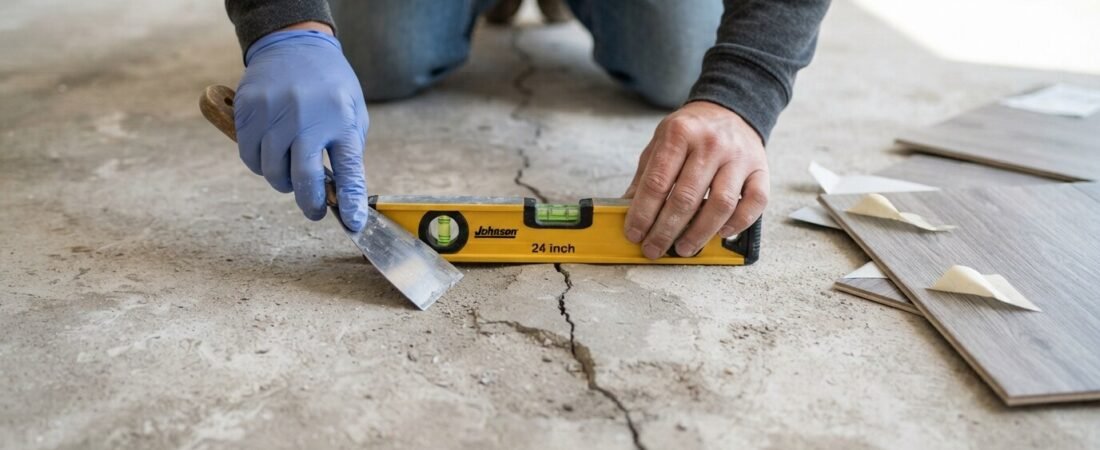
Yes, you can put peel-and-stick floor tiles over concrete, but the concrete must be dry, fully cured, clean, smooth, and properly prepared. Because concrete can hold moisture even when its surface feels dry. So, you should test the slab and use a suitable floor primer before installing the tiles, unless your flooring manufacturer specifies a different preparation method.’
Before you start, it will be better to know what makes a concrete floor suitable for peel and stick flooring and what needs to be fixed first. However, if you’re thinking about putting peel and stick tiles over an old floor instead of bare concrete, see how that works here.
Is Putting Concrete Over Peel and Stick Floor Tiles Possible?
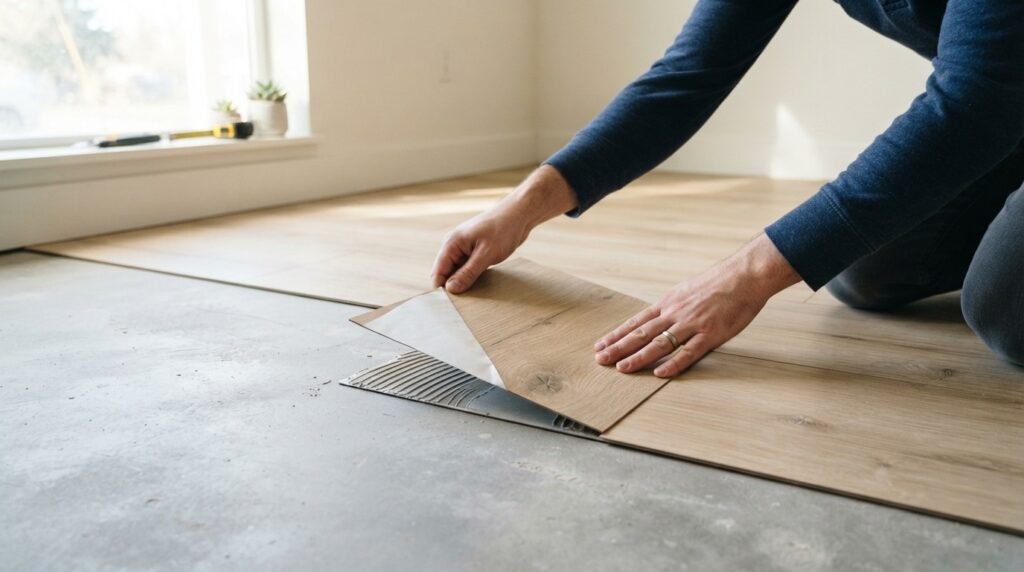
Concrete can be a good base for peel-and-stick floor tiles as it provides a solid surface without the grout lines or seams found on some existing floors. However, if you’re wondering whether peel and stick flooring on concrete will work in your home, you need to consider the condition of the slab. Concrete is porous, so moisture can remain inside even when the surface feels dry and may weaken the adhesive bond.
That is why you should check your concrete before laying the tiles. If you’re still deciding whether peel-and-stick flooring is right for your home, read the real pros and cons of peel-and-stick flooring before making your choice.
When Is Concrete Ready for Peel and Stick Tiles?
Before you start, you need to check whether you can put sticky tiles on concrete in its current condition. It can only work well on peel and stick tiles when it is:
- Fully cured: at least 30 days old if it is a new concrete pour.
- Dry: moisture testing shows no meaningful moisture reading.
- Flat: the surface is within standard flooring tolerance.
- In good condition: there are no active cracks, loose patches, or crumbling areas.
- Properly finished: the concrete is either bare and primed or covered with paint that is still fully intact.
If your concrete meets all five conditions, you are in good shape. If it does not, the problem is usually something that can be fixed during surface preparation rather than a reason to remove peel and stick tiles completely. Further, if you see cracks or missing pieces on concrete slab, you’ll need to repair those areas before moving on to the next step. See how to fill cracks and holes in concrete before installing peel and stick tiles so you can handle each damaged spot correctly.
Quick Checklist Before Laying the Tiles
Use this checklist before you install your peel and stick on concrete:
| What to Check | What You Need |
| Moisture | Concrete has passed a moisture test, such as a plastic sheet or calcium chloride test |
| Curing | New concrete has cured for at least 30 days |
| Cracks & holes | All cracks and holes have been properly patched |
| Flatness | Floor is within 3/16 inch over 10 feet or better |
| Cleaning | Surface is fully cleaned, vacuumed, and dust-free |
| Paint | Paint has good adhesion, or peeling paint has been sanded or removed |
| Primer | Concrete has a suitable latex or acrylic floor primer, unless intact paint is already sealing the surface |
| Underlayment | Plywood underlayment has been considered for basements or problem slabs |
Why Moisture Can Cause Problems
Concrete can hold moisture from the ground underneath, even when the surface feels completely dry. When peel and stick tile is placed over it, that moisture can get trapped between the concrete and the tile. Over time, it can weaken the adhesive and cause the tile to lift.
This is the biggest reason peel and stick floor tiles fail on concrete. That is why concrete needs one extra step that tile, vinyl, and wood sub floors usually do not: a moisture test.
How to Test Concrete for Moisture
There are two simple ways to check for moisture:
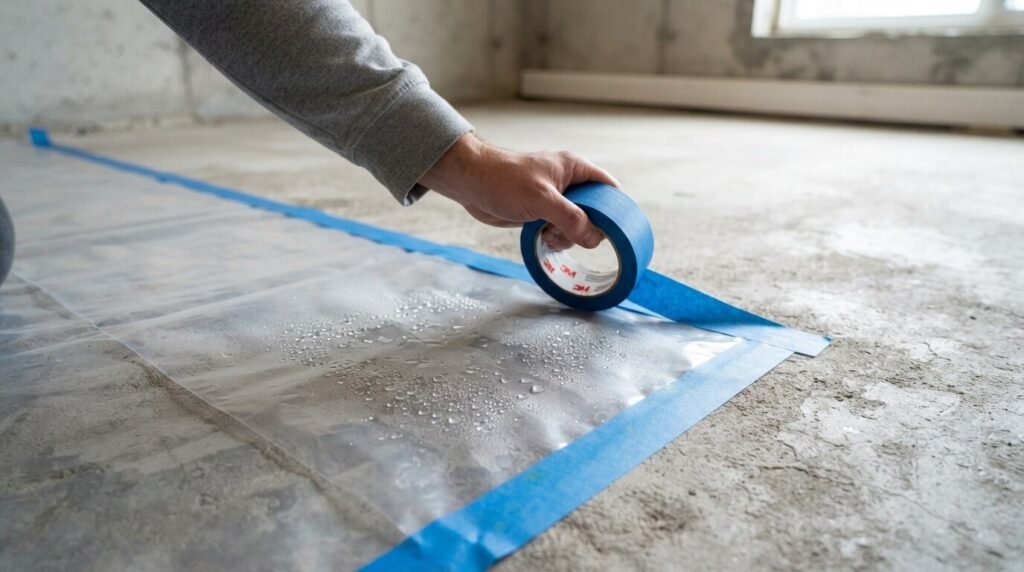
- Plastic sheet test: Tape an 18-inch to 2-foot square of clear plastic sheeting to the concrete on all four sides. Make sure it is completely sealed, then leave it for 24 to 48 hours. If you see condensation under the plastic or the concrete becomes darker, there is too much moisture in the concrete for direct tile installation.
- Calcium chloride test kit: This is a more accurate option and is sold at most hardware stores. It measures how much moisture is coming out of the concrete over a set period, usually 60 to 72 hours. It gives you an actual moisture reading instead of relying only on what you can see. For an even more accurate result, professional installers often use an in-situ relative humidity test based on ASTM F2170.
If either test shows a moisture problem, you will need a vapor barrier or moisture-blocking primer before installing the tiles. Another option is to use an underlayment instead of sticking the tiles directly to the concrete. You can check out which primer is best for your concrete floor.
What to Check Before Installing Concrete Over Peel and Stick Floor Tiles
Before installing peel and stick floor tiles, take a few minutes to check the concrete floor. Look for these five things:
- Cracks
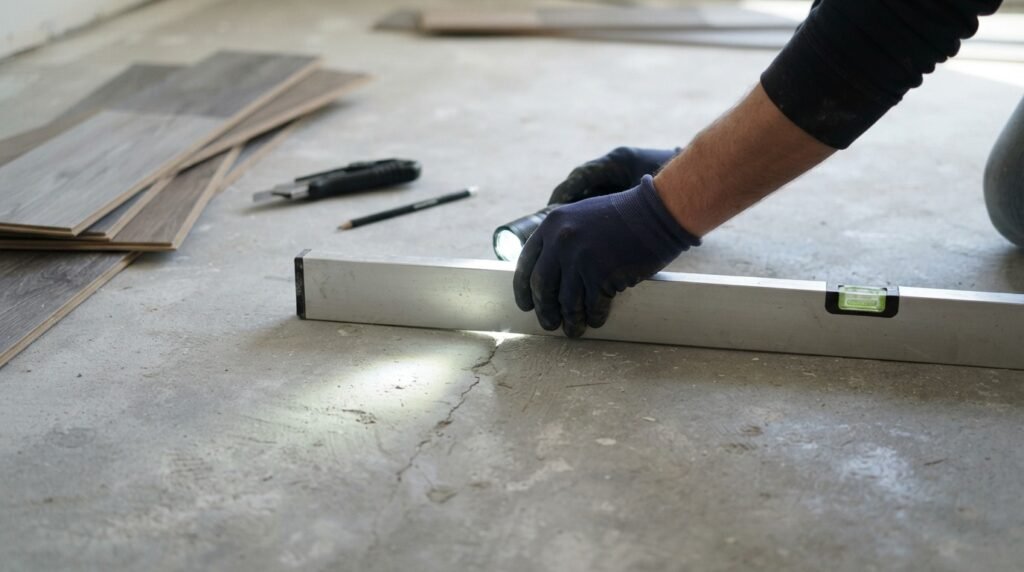
Check for cracks in the concrete floor. Small hairline cracks can usually be patched. If a crack is still moving because of temperature changes or the building settling, have a professional check it first. Otherwise, it may open again under the tile. Hence, it is important to choose the right repair product before you cover the surface. See our guide to the best concrete crack fillers for peel-and-stick tile to compare suitable options for different crack sizes.
- Dust
Even if your concrete floor looks clean, it may still have a thin layer of dust. That dust can stop the adhesive from sticking properly. Vacuum the floor well, then clean it again before you install the tiles. Further, If your concrete has old carpet adhesive stuck to it, ordinary cleaning may not be enough. Follow our guide on how to remove carpet glue from concrete before peel-and-stick tile to learn how to deal with the residue before you install your new floor.
- Uneven spots
Run your hand over the concrete subfloor and look for dips or high spots. These areas can prevent the adhesive from making good contact with the surface. They can also cause your peel and stick floor tiles to rock or lift at the edges.
- Paint or sealer
Check if your concrete has old paint or sealer on it. These coatings can affect how the primer and adhesive stick to the surface. More on this is covered below.
- Dampness
Check for moisture before anything else. If your concrete floor is damp or has too much moisture, the other preparation steps will not fix the problem.
How Smooth Does Concrete Need to Be?
Peel and stick floor tiles are thin, usually 1.5 to 3 mm, so they can follow the shape of the surface underneath. Small texture is usually fine, but larger dips and ridges can show through the tiles and may cause the edges to lift over time.
A commonly used flooring standard, ASTM F710, recommends no more than 3/16 inch of variation over 10 feet or 1/8 inch over 2 feet. You can check your concrete floor by placing a long, straight edge across different areas and looking for gaps underneath it.
If you can slide something thicker than a business card under the straightedge at any point, that area should be leveled before you install the peel and stick tiles.
When Can You Install on New Concrete?
If you have a fresh concrete slab, do not install peel and stick floor tiles right away. New concrete continues to release moisture as it cures. If you cover it too soon, that moisture can get trapped under the tiles and cause the adhesive to fail.
As a general guideline, give new concrete at least 30 days to cure before you test it for moisture or install flooring. Thicker concrete slabs may need more time because deeper slabs take longer to cure.
Once the concrete has had enough time to cure, test it for moisture before installing the tiles. Do not rely only on how dry the surface feels. A slab can feel dry on top while still holding moisture underneath.
Does Basement Concrete Need Extra Care?
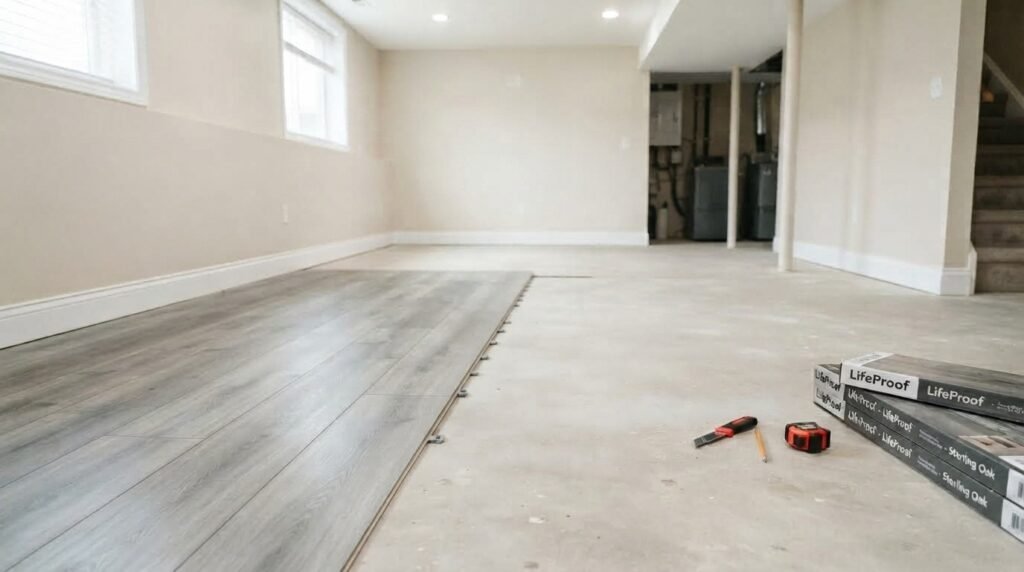
If you’re installing peel and stick floor tiles in a basement or another space below ground level, pay extra attention to moisture. Concrete below ground is closer to groundwater, so it can hold more moisture over time, even if the floor tests dry on the day you check it.
A moisture-blocking primer is worth considering if your test results are borderline. If the basement has a history of dampness, a plywood underlayment may be a safer option than sticking the tiles directly to the concrete floor. This gives you another option when you do not want to stick the tiles directly to the slab.
Can You Install Over Painted Concrete?
Yes, but first check the condition of the paint.
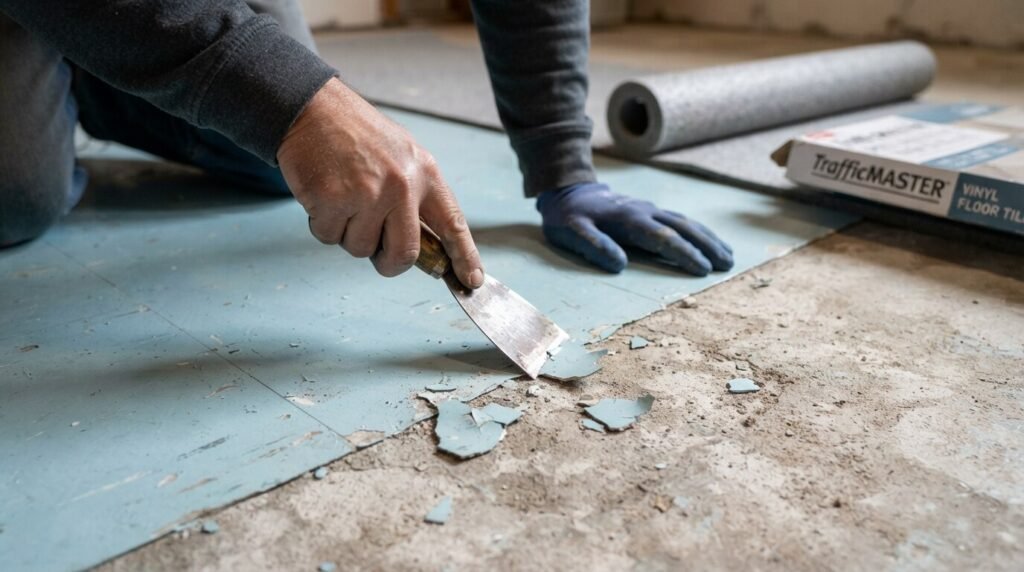
If the paint is fully intact, firmly bonded, and not peeling or flaking, it can actually help. It seals the porous concrete surface, which is one of the things a primer would normally do.
Before you install the tiles, do a quick adhesion test. Press a piece of tape firmly onto the painted surface, then pull it off. If no paint comes off with the tape, the paint has a solid bond.
If the paint is peeling, chalking, or lifting anywhere, you should fix that before installing the tiles. Your new tiles can only stick as well as the paint underneath them. Sand loose areas back to bare concrete, or remove the paint completely, then prime the surface before installation.
One more thing to check is the type of paint. Oil-based paint may not work well with standard latex flooring primers. If you are not sure what type of paint is on your concrete, test your primer on a small hidden area first. This lets you make sure the primer works before you use it across the whole room.
What Happens If the Concrete Isn’t Ready?
If the concrete is not ready before you install the tiles, problems can show up later. You may not notice anything wrong on the first day, but issues can appear after a few weeks or months.
Here are some common problems you may see:
- Lifting or bubbling tiles: Trapped moisture or dust can weaken the adhesive. This can cause the tiles to lift or bubble.
- Mold or mildew underneath: Moisture can get trapped under the tiles. Over time, this can create a place for mold or mildew to grow.
- Adhesive breakdown: Moisture can bring alkaline salts from the concrete slab to the surface. Over time, these salts can weaken and break down the adhesive.
- Dips, bumps, or seams showing through: If the concrete is not level, uneven areas can show through the thin peel and stick tiles.
The important thing to remember is that these problems may not appear on installation day. If your tiles are already lifting, it may look like an adhesive problem. Our guide on why peel and stick tiles stop sticking can help you find the cause.
These problems can develop slowly after the tiles are already installed. That’s why proper concrete preparation is so important before you install peel and stick floor tiles.
When Plywood May Be a Better Option
If your moisture readings are borderline, or the concrete is too uneven for normal surface preparation, plywood underlayment can be an alternative to installing peel and stick tiles directly on the slab. Here is the complete step by step guide for putting peel and stick over plywood and what to avoid.
A 1/4-inch plywood layer can provide a flatter, more predictable surface and keeps the tiles from bonding directly to the concrete. This can be useful for older slabs, basements, or floors with a history of moisture problems.
It does add extra material and installation time, so it is not necessary for every concrete floor. If your slab is dry, flat, and properly prepared, installing the tiles directly over the concrete is usually simpler.
Can You Install Peel and Stick Tiles Over Heated Concrete?
If your concrete slab has radiant heating, check the specific peel and stick tile manufacturer’s guidelines before installing. Not every adhesive is designed to handle the steady heat from a radiant heating system. Using a product that is not rated for heated floors can shorten the life of the tiles.
However, If you ever want to remove the tiles later, you can take them back up when you’re ready.
Common Questions
Do you need to prime concrete before installing peel and stick tile?
Yes, in most cases. Concrete is porous, so the adhesive may not bond consistently to the surface. A latex or acrylic floor primer made for concrete helps create a better surface for the tiles to stick to. However, if the concrete already has fully intact paint that seals the surface, you may not need a separate primer.
How do you know if concrete has too much moisture for peel and stick tile?
Before you worry about the primer, check the concrete for moisture. A plastic sheet test or calcium chloride test kit can help you do this. For the plastic test, tape clear plastic to the concrete for 24–48 hours and check underneath for condensation. If either test shows meaningful moisture, do not install the tiles directly on the bare slab. The moisture problem needs to be addressed first.
How long does new concrete need to cure before installing flooring?
The concrete also needs enough time to cure before you begin any installation. At least 30 days is a general guideline for new concrete, although thicker slabs may need longer. Even when the surface feels dry, the slab can still contain moisture. Installing tiles too soon can trap that moisture underneath and lead to early adhesive failure.
How flat does a concrete floor need to be for peel and stick tile?
Once the concrete is dry and properly prepared, check how flat the surface is. A commonly used flooring guideline allows no more than 3/16 inch of variation over a 10-foot span. If you find larger dips or high spots, level them before installing the tiles so the uneven areas do not show through or affect the adhesive bond.
Final Thoughts
If you’re wondering whether self-adhesive tiles will stick to concrete, the key is to make sure the surface is dry, fully cured, smooth, and properly prepared for your flooring product. A dry, cured, clean, and reasonably flat surface gives the adhesive a much better chance of holding for the long term.
The most important thing is not to judge the concrete by how it looks. Check for moisture, fix surface problems, and make sure the surface is properly prepared before the first tile goes down. A little extra time at this stage can save you from dealing with loose, bubbling, or lifting tiles later.
Once the concrete passes these checks, you can move ahead with your peel and stick floor tile installation with much more confidence.